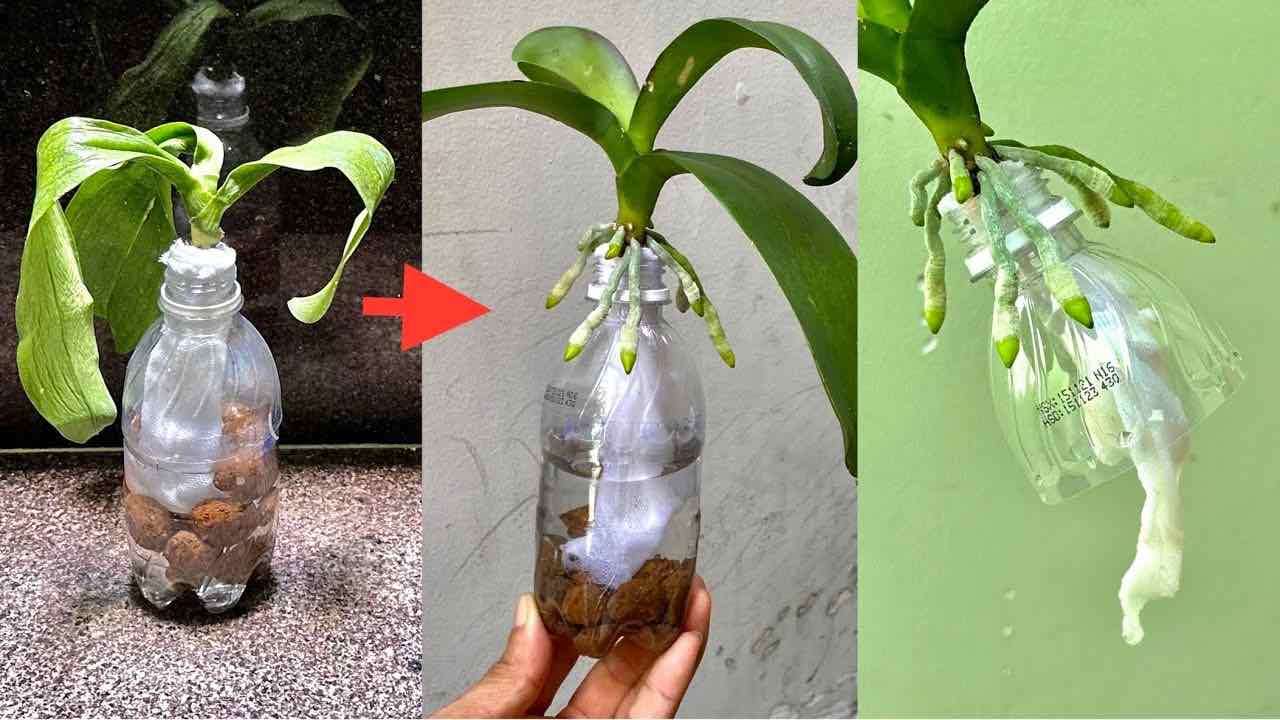
Say goodbye to worries about rootless orchids with this comprehensive guide that unveils the nurserymen’s method to revive your orchid.

Whether you’re a seasoned gardener or a beginner, rescuing an orchid without roots is a manageable task. Follow these detailed steps, and you’ll have your orchid thriving again in no time.

Reviving an Orchid Without Roots: Step-by-Step Guide
The orchid, a resilient indoor plant suitable for even the less experienced gardeners, demands minimal care. To ensure year-round flowering, follow basic guidelines like choosing the right position with ample light but avoiding direct sunlight and drafty windows. Moderate watering and the application of suitable natural fertilizers contribute to its overall health.
Now, let’s address the challenge of reviving an orchid without roots. Follow these steps to rejuvenate your rootless orchid and enjoy its beauty once again.

Orchid Without Roots: Restoration Procedure
- Assess and Prepare:
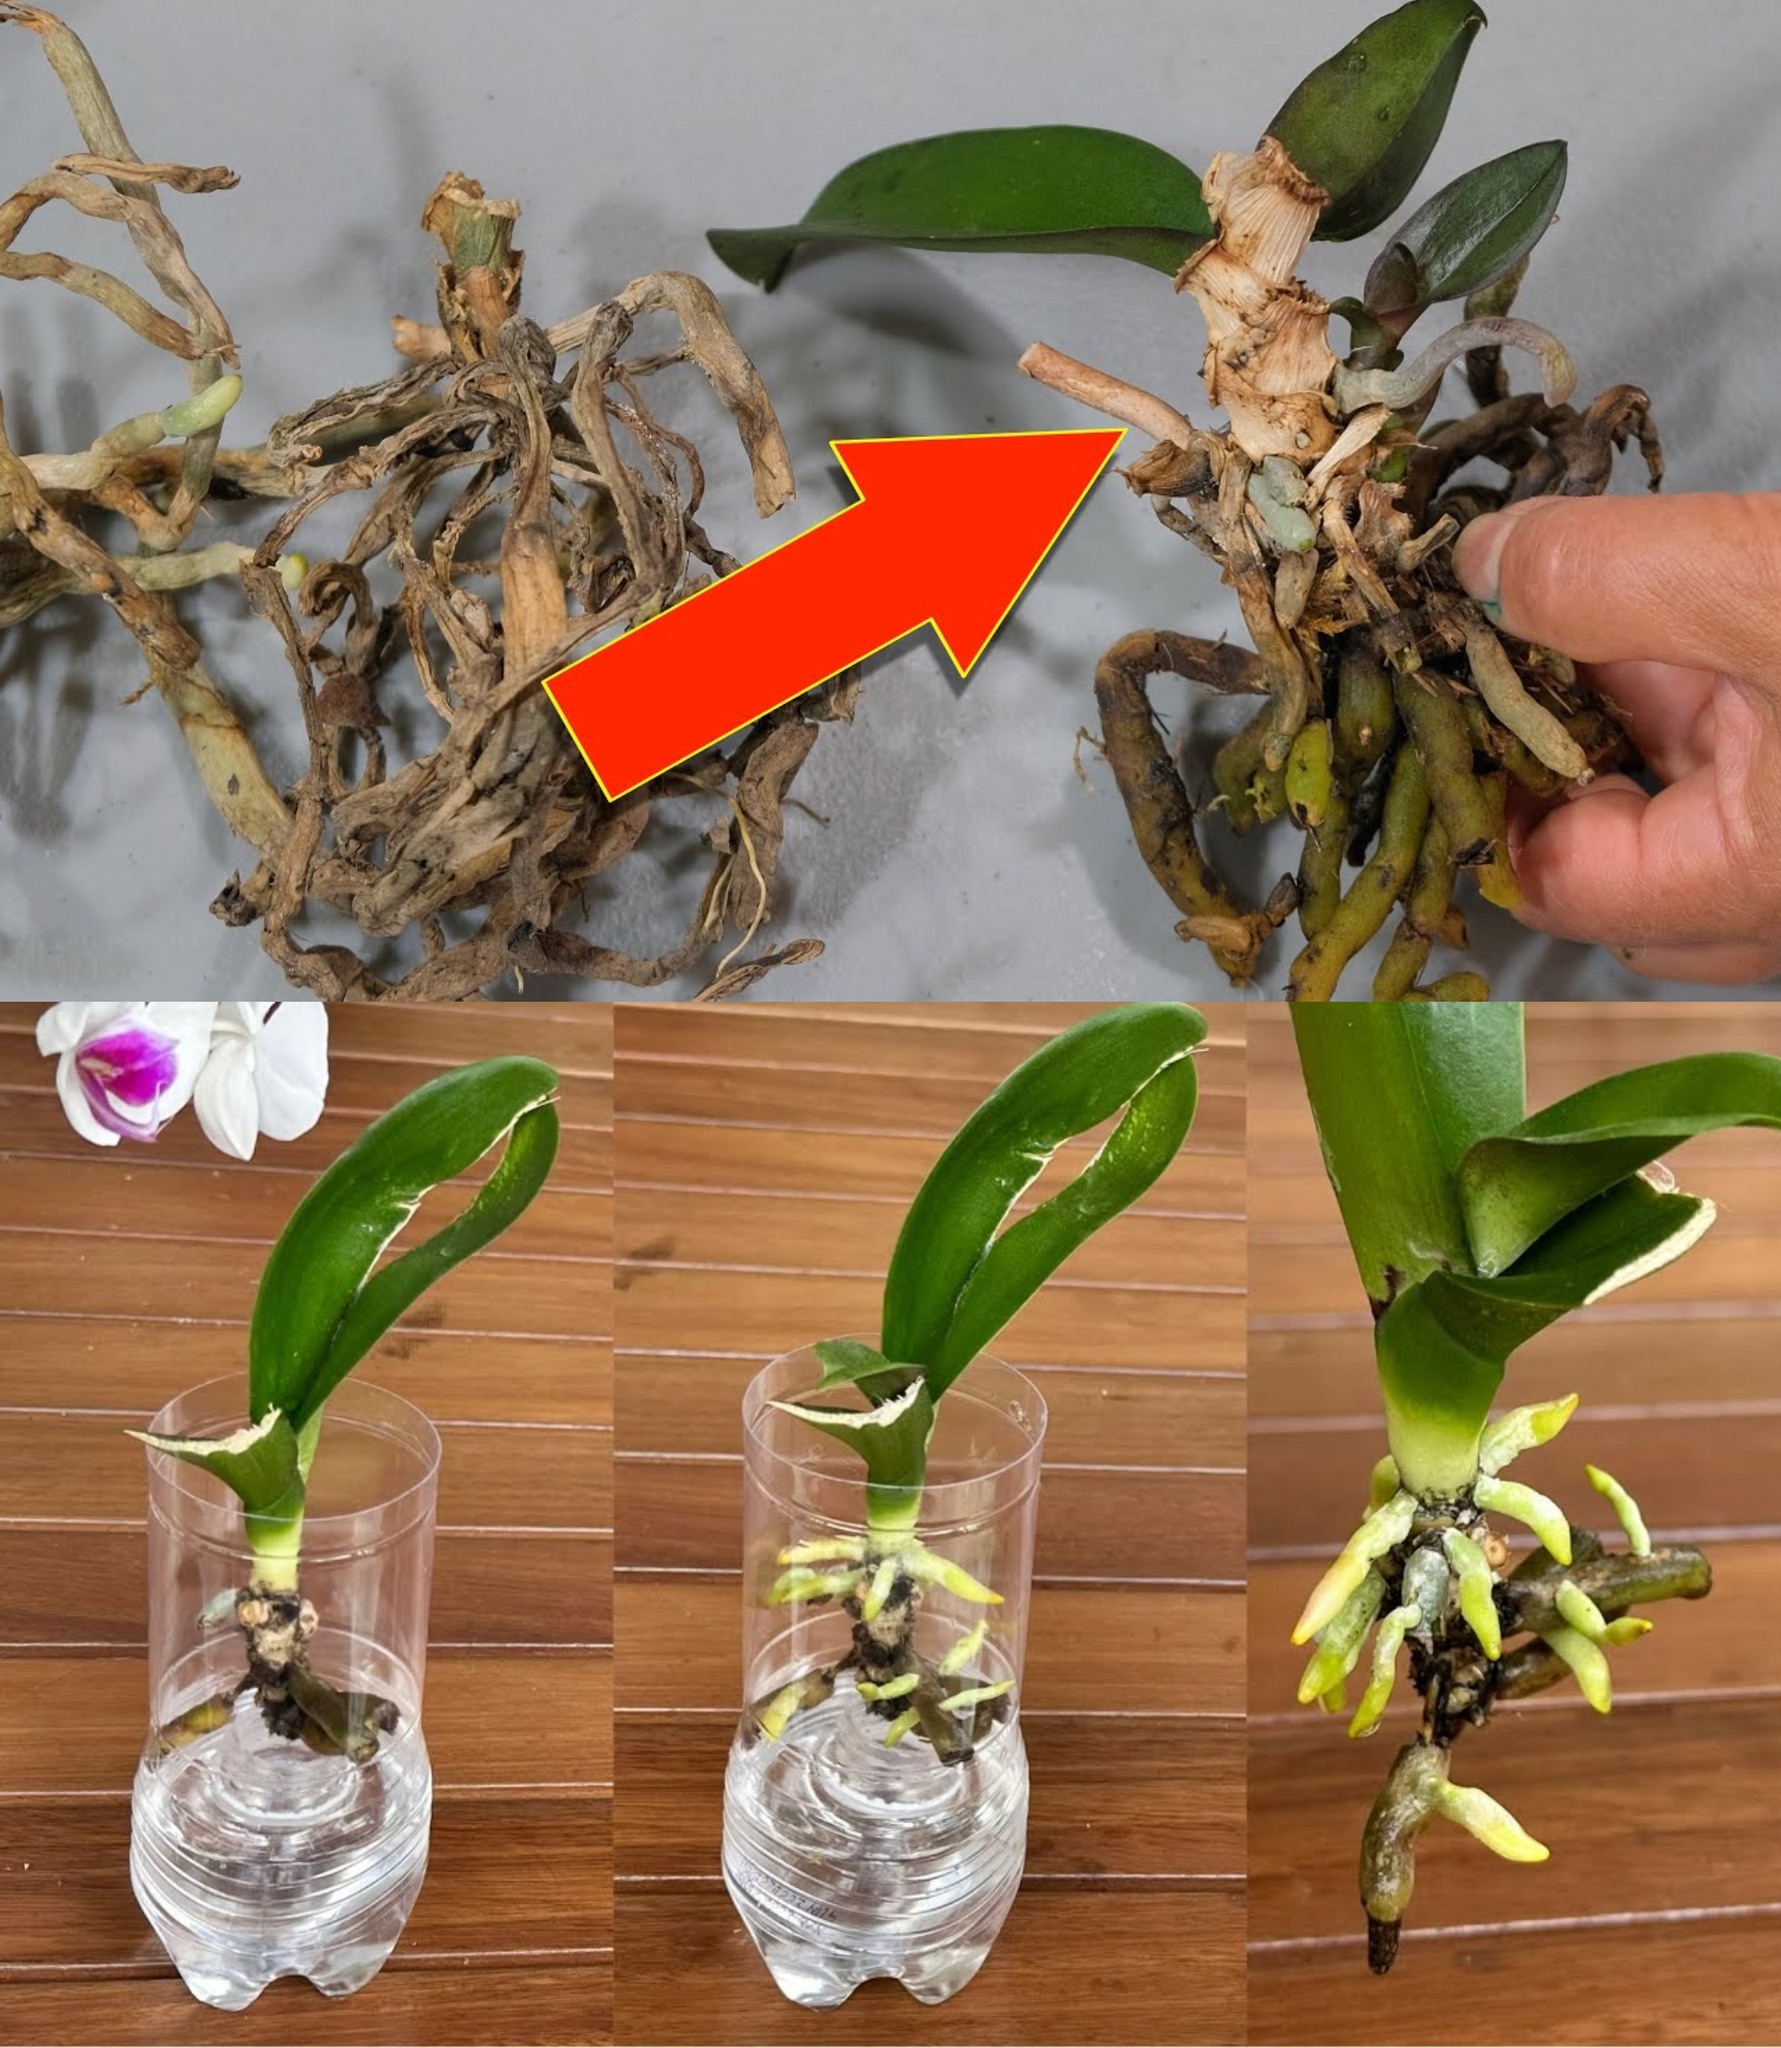
- Examine the orchid, and if you find dry roots, proceed with the restoration.
- Trim completely black roots, retaining only those with a greenish-gray color.
- Cleaning the Base:
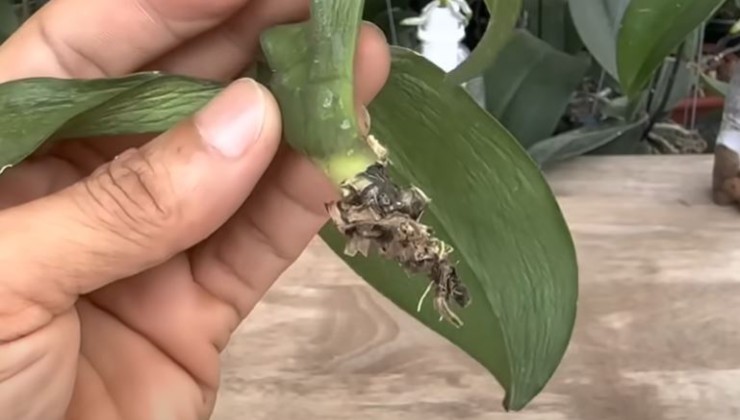
- Thoroughly clean the base of the orchid, utilizing scissors for precision.
- Antibacterial Treatment with Garlic:
- Take a clove of garlic and place it in a bowl.
- Crush the garlic using a press or mortar to release its antibacterial properties.
- Add half a liter of water to the crushed garlic, then filter the water to remove any residues.
- Wet a cotton pad in the garlic-infused water and gently wipe all the leaves of the orchid.
