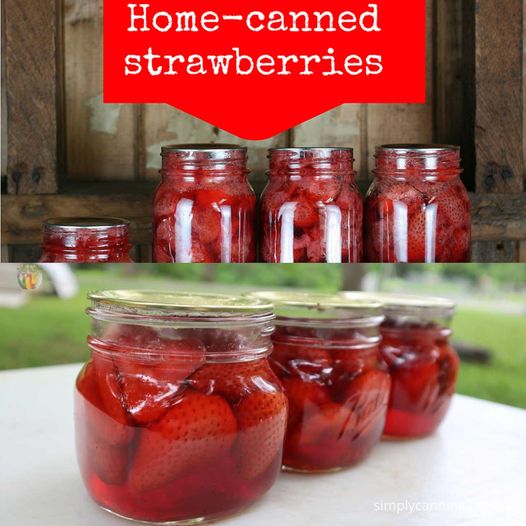

As we get ready for the summer season, it’s time to savor the ripe and sweet flavor of strawberries. And what better way to enjoy them throughout the year than by making your own homemade canned strawberries? This recipe allows you to preserve the freshness of strawberries in a simple syrup, perfect for adding to desserts, breakfast dishes, or even enjoying straight from the jar.
The Benefits of Canning Strawberries
-
Sustainable Solution: By canning strawberries, we can contribute to reducing food waste, making it an environmentally friendly choice that we can feel good about.
-
Nutritional Goodness: Strawberries are not only delicious but also a great source of vitamins B and C. Plus, they are packed with fiber, making them a nutritious addition to any meal.
-
Endless Possibilities: When you can your own strawberries, you have the freedom to flavor them in various ways, allowing you to customize their taste to your preference. The possibilities are truly endless!
Recipe: Homemade Canned Strawberries
Ingredients:
- 5 pounds of fresh, ripe strawberries
- 4 cups of water
- 4 cups of granulated sugar
- 2 tablespoons of lemon juice
Directions:
-
Begin by sterilizing your canning jars and lids following the standard canning procedures.
-
Rinse the strawberries under cold water and remove the stems.
-
In a large pot, create a simple syrup by combining the water and sugar. Heat the mixture over medium heat, stirring until the sugar completely dissolves.
-
Add the strawberries and lemon juice to the pot and bring to a gentle boil. Let the mixture simmer for about 5 minutes until the strawberries slightly soften.
-
Carefully ladle the hot strawberries and syrup into the sterilized jars, leaving about a 1/2 inch of headspace at the top.
-
Remove any air bubbles by running a knife or a bubble remover tool along the inside edge of the jars.
-
Wipe the jar rims with a clean, damp cloth to ensure a proper seal. Place the lids on the jars and screw on the bands until fingertip tight.
-
Process the jars in a boiling water bath for 15 minutes. Adjust the processing time according to your altitude if needed.
-
Once done, remove the jars from the water bath and let them cool on a towel or a cooling rack. Remember to check the seals after 24 hours. A properly sealed lid should not flex up and down when pressed.
-
Store the sealed jars in a cool, dark place for up to one year. Refrigerate any jars that did not seal properly and use them within a few weeks.
Prep Time: 30 minutes
Cooking Time: 20 minutes
Total Time: 50 minutes
Tips for Success
-
Strawberry Selection: Choose ripe and unblemished strawberries for the best flavor and quality. The sweeter the strawberries, the better the end result!
-
Adjusting the Sweetness: Don’t be afraid to play around with the amount of sugar in the syrup to suit your taste buds. Feel free to experiment with alternative sweeteners as well.
-
Handling and Sealing the Jars: Be gentle when handling the jars to prevent breakage. And make sure to seal them properly for the best results.
Homemade canned strawberries offer a delightful way to preserve the essence of summer and enjoy the sweet taste of strawberries all year long. Whether you’re using them to top a bowl of ice cream, make a delicious pie, or simply enjoying them straight from the jar, canned strawberries are a fantastic addition to your pantry. So why not indulge in this timeless tradition and add a touch of summer to your meals every day? Start canning your own strawberries today and discover the joy of homemade goodness!