Reviving an orchid (Phalaenopsis) that seems to have withered away can be a daunting task for many. However, there is a method to attempt recovery, and it involves using an ingredient you would have never suspected!
How to Revive a Wilting Orchid: The Method
If your orchid appears to be on its last legs, with perhaps only a hint of an un-withered leaf, don’t lose hope. Take it out of the pot and inspect the roots.
Even if the roots seem beyond salvation, remove the wilted leaves (they should come off easily). Equip yourself with sterilized scissors and cut away all dry parts, including those protruding from the root.
Now, place the root and the remaining part of the plant in a glass and fill it with water up to just below the collar (the part from which the roots and leaves emerge).
Be careful not to wet the collar; otherwise, you risk causing rot and jeopardizing the recovery attempt.
Depending on the glass size, the water should fill slightly less than half (about 4-5 cm). After filling the water, remove the plant piece.
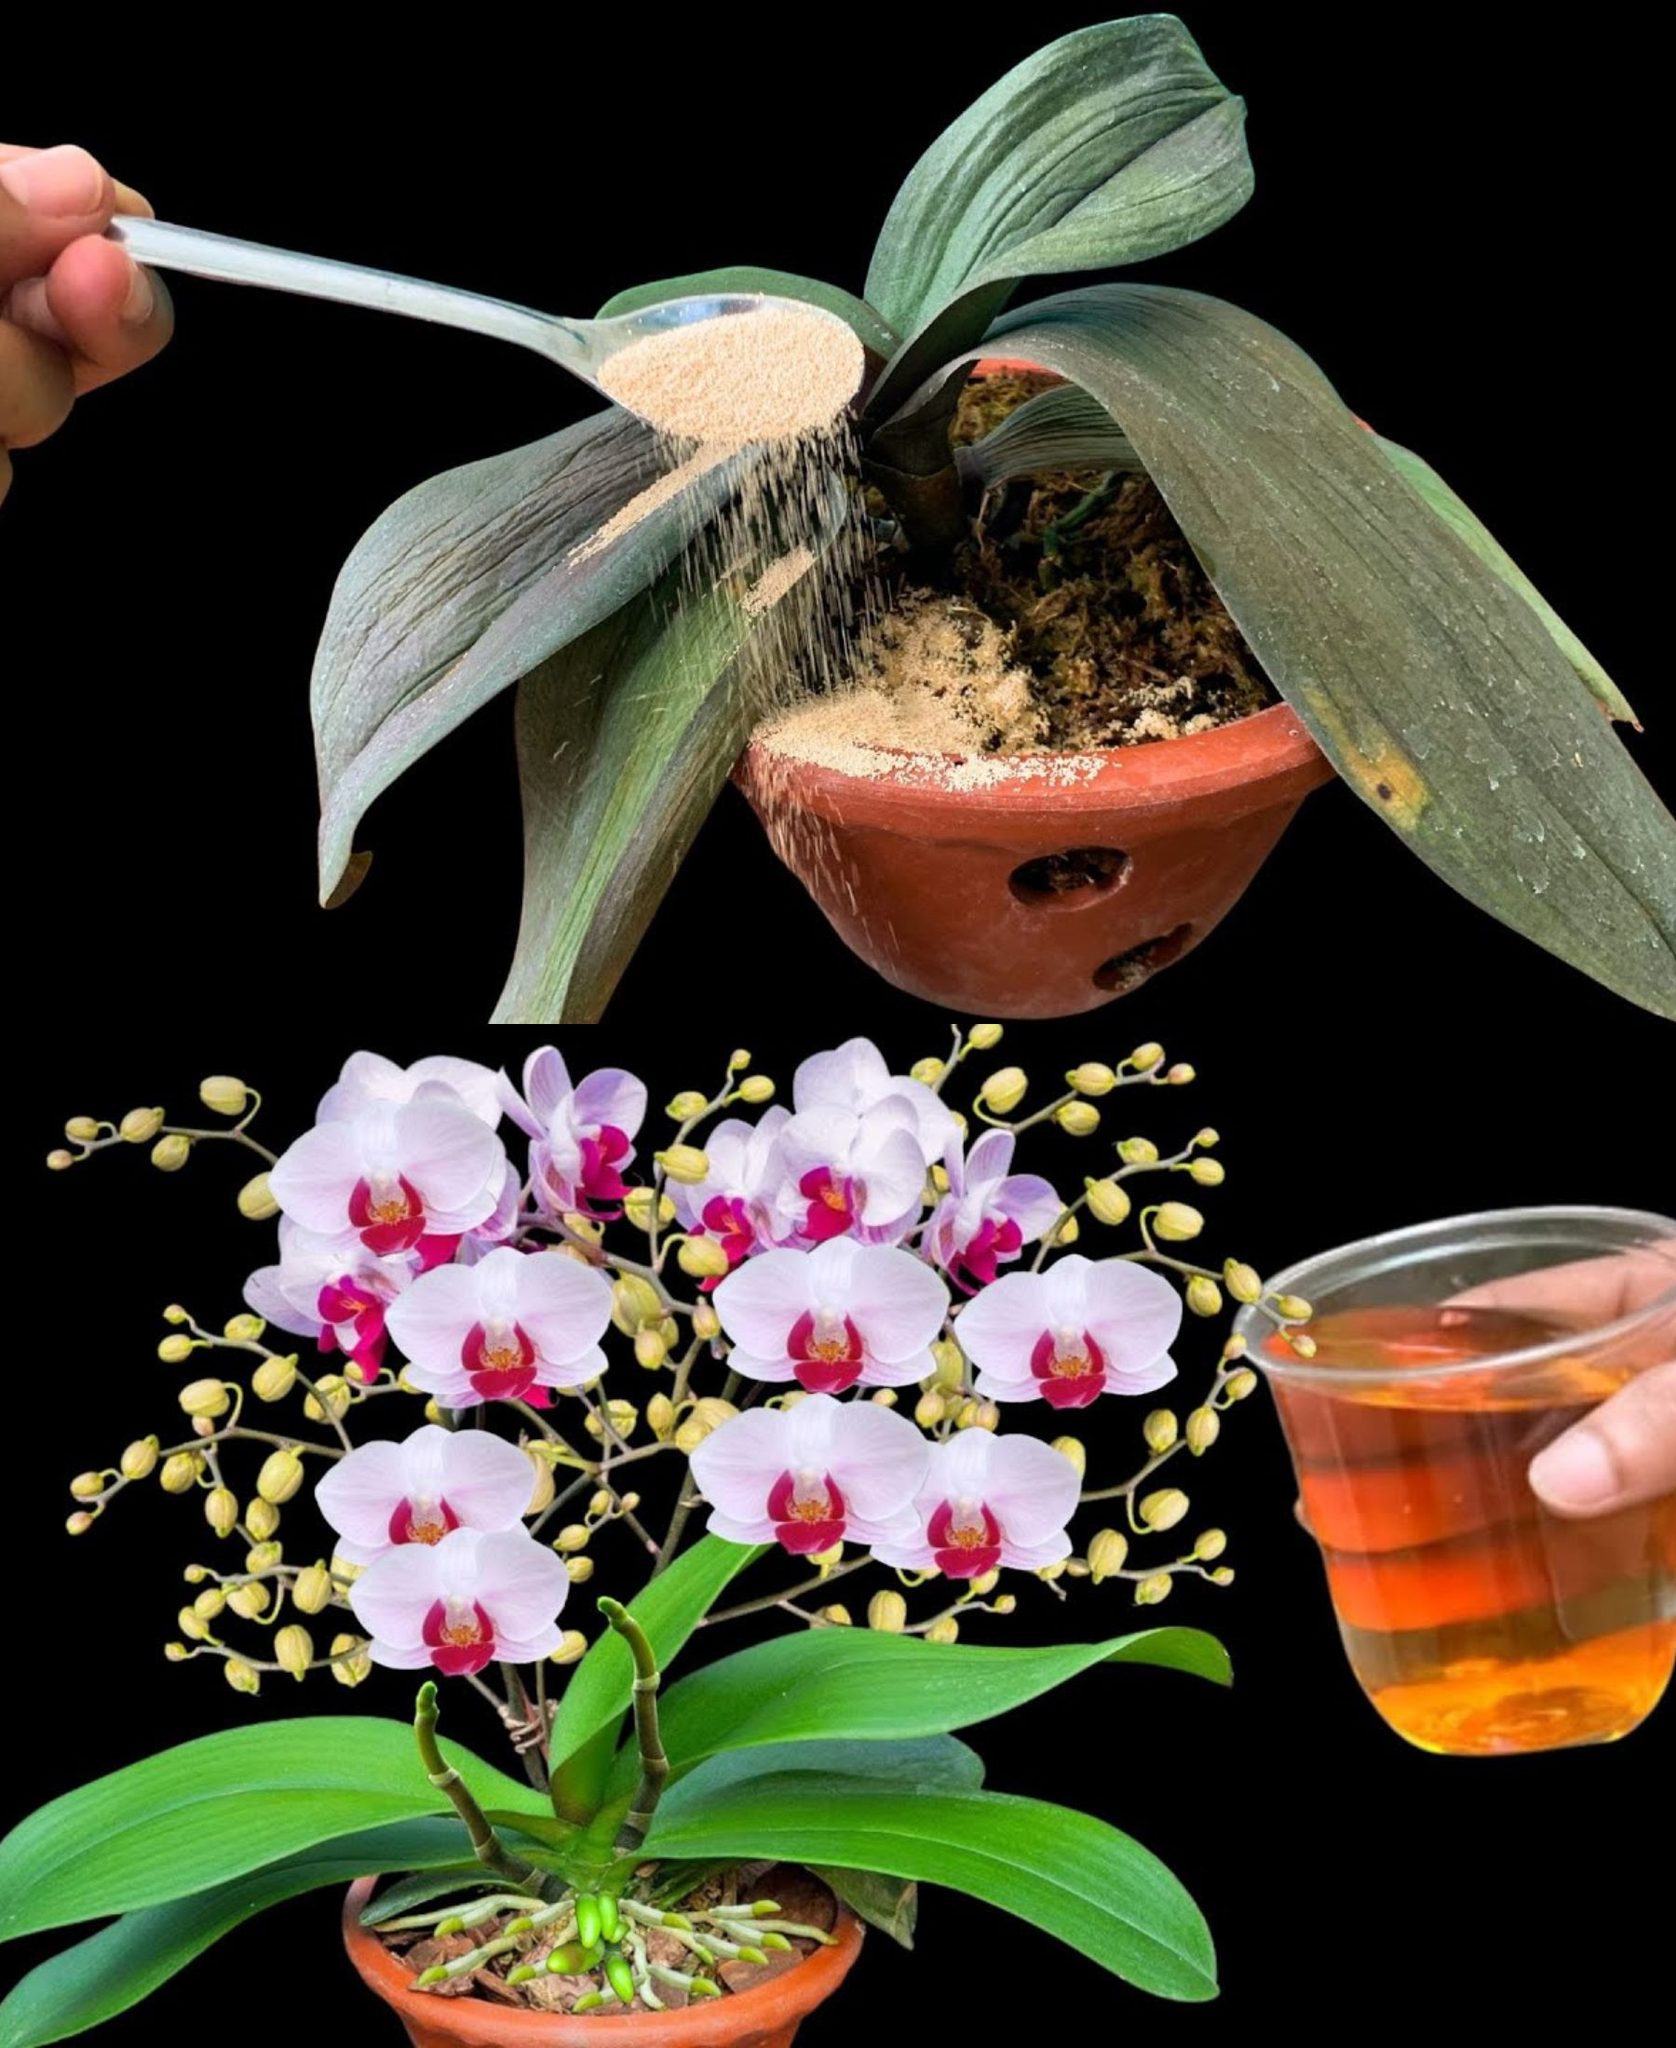
And here’s the ingredient you certainly didn’t expect: hydrogen peroxide.
Yes, the common one kept at home as a disinfectant. Add 1 cm of hydrogen peroxide to the water, mix, and immerse the plant piece again.
Always ensure that the liquid level doesn’t exceed the collar. Now, all that’s left is to wait. It will take at least a month and a half before you see tangible results.
You’ll know the method worked when you notice that the previously yellowing parts of the roots have turned green, and new roots have likely sprouted.
You can declare victory if, in addition to the roots, there are new leaves emerging from the collar.
Replanting the Orchid
Now you can repot the orchid. You’ll need bark and a perforated pot.
If you’ve kept the original pot, wash it thoroughly and sterilize it to prevent any residual mold. Otherwise, get a new one.
Fill about 2/3 of the pot with handfuls of bark, then place the plant in it, keeping it upright. Finish filling with bark until just below the collar.
Spray the bark until water seeps out of the holes; this indicates that the bark is well-hydrated. Then, transfer it to another decorative pot or a suitable base.
Before spraying again in the following weeks, ensure the bark is dry.
Now, all you have to do is wait. If, in the coming weeks, you see your orchid revitalizing and the roots growing, it means it has found the perfect conditions and will eventually reward you with beautiful flowers!