Revolutionary Method: Growing Photos in a Jar
Unlock the secrets of a groundbreaking technique that allows you to cultivate Photos directly inside a jar, even if you’re just starting your gardening journey. This extraordinary method promises incredible results, and you don’t need to be a gardening expert to achieve them.
Discovering the Marvels of Photos
Photos, belonging to the Araceae family and native to the tropical forests of the Americas, stands out for its elegant and sophisticated appearance. Characterized by oval, shiny leaves on tall stems, this plant is a favorite as a houseplant, not only for its beauty but also for its air-purifying properties. Let’s delve into its properties and explore why incorporating Photos into your collection is a wise choice.
This resilient plant, suitable for beginners, thrives with ample light (though not direct) and well-drained, fertilized soil. Beyond its aesthetic charm, Photos proves to be a champion in air purification. A NASA study identified its capability to eliminate indoor pollutants like benzene, formaldehyde, and trichloroethylene, enhancing the air quality within your living space.

In addition to its air-purifying prowess, Photos boasts medicinal properties. Active compounds such as the glycoside arudin contribute to its anticoagulant effect, aiding in the prevention of cardiovascular problems. Traditional remedies often use Photos extracts to address various ailments, including headaches, nausea, fever, and rheumatism.
Moreover, Photos is renowned for its stress-reducing qualities and the ability to boost productivity. Research has demonstrated that incorporating office plants like Photos leads to increased employee well-being and efficiency.
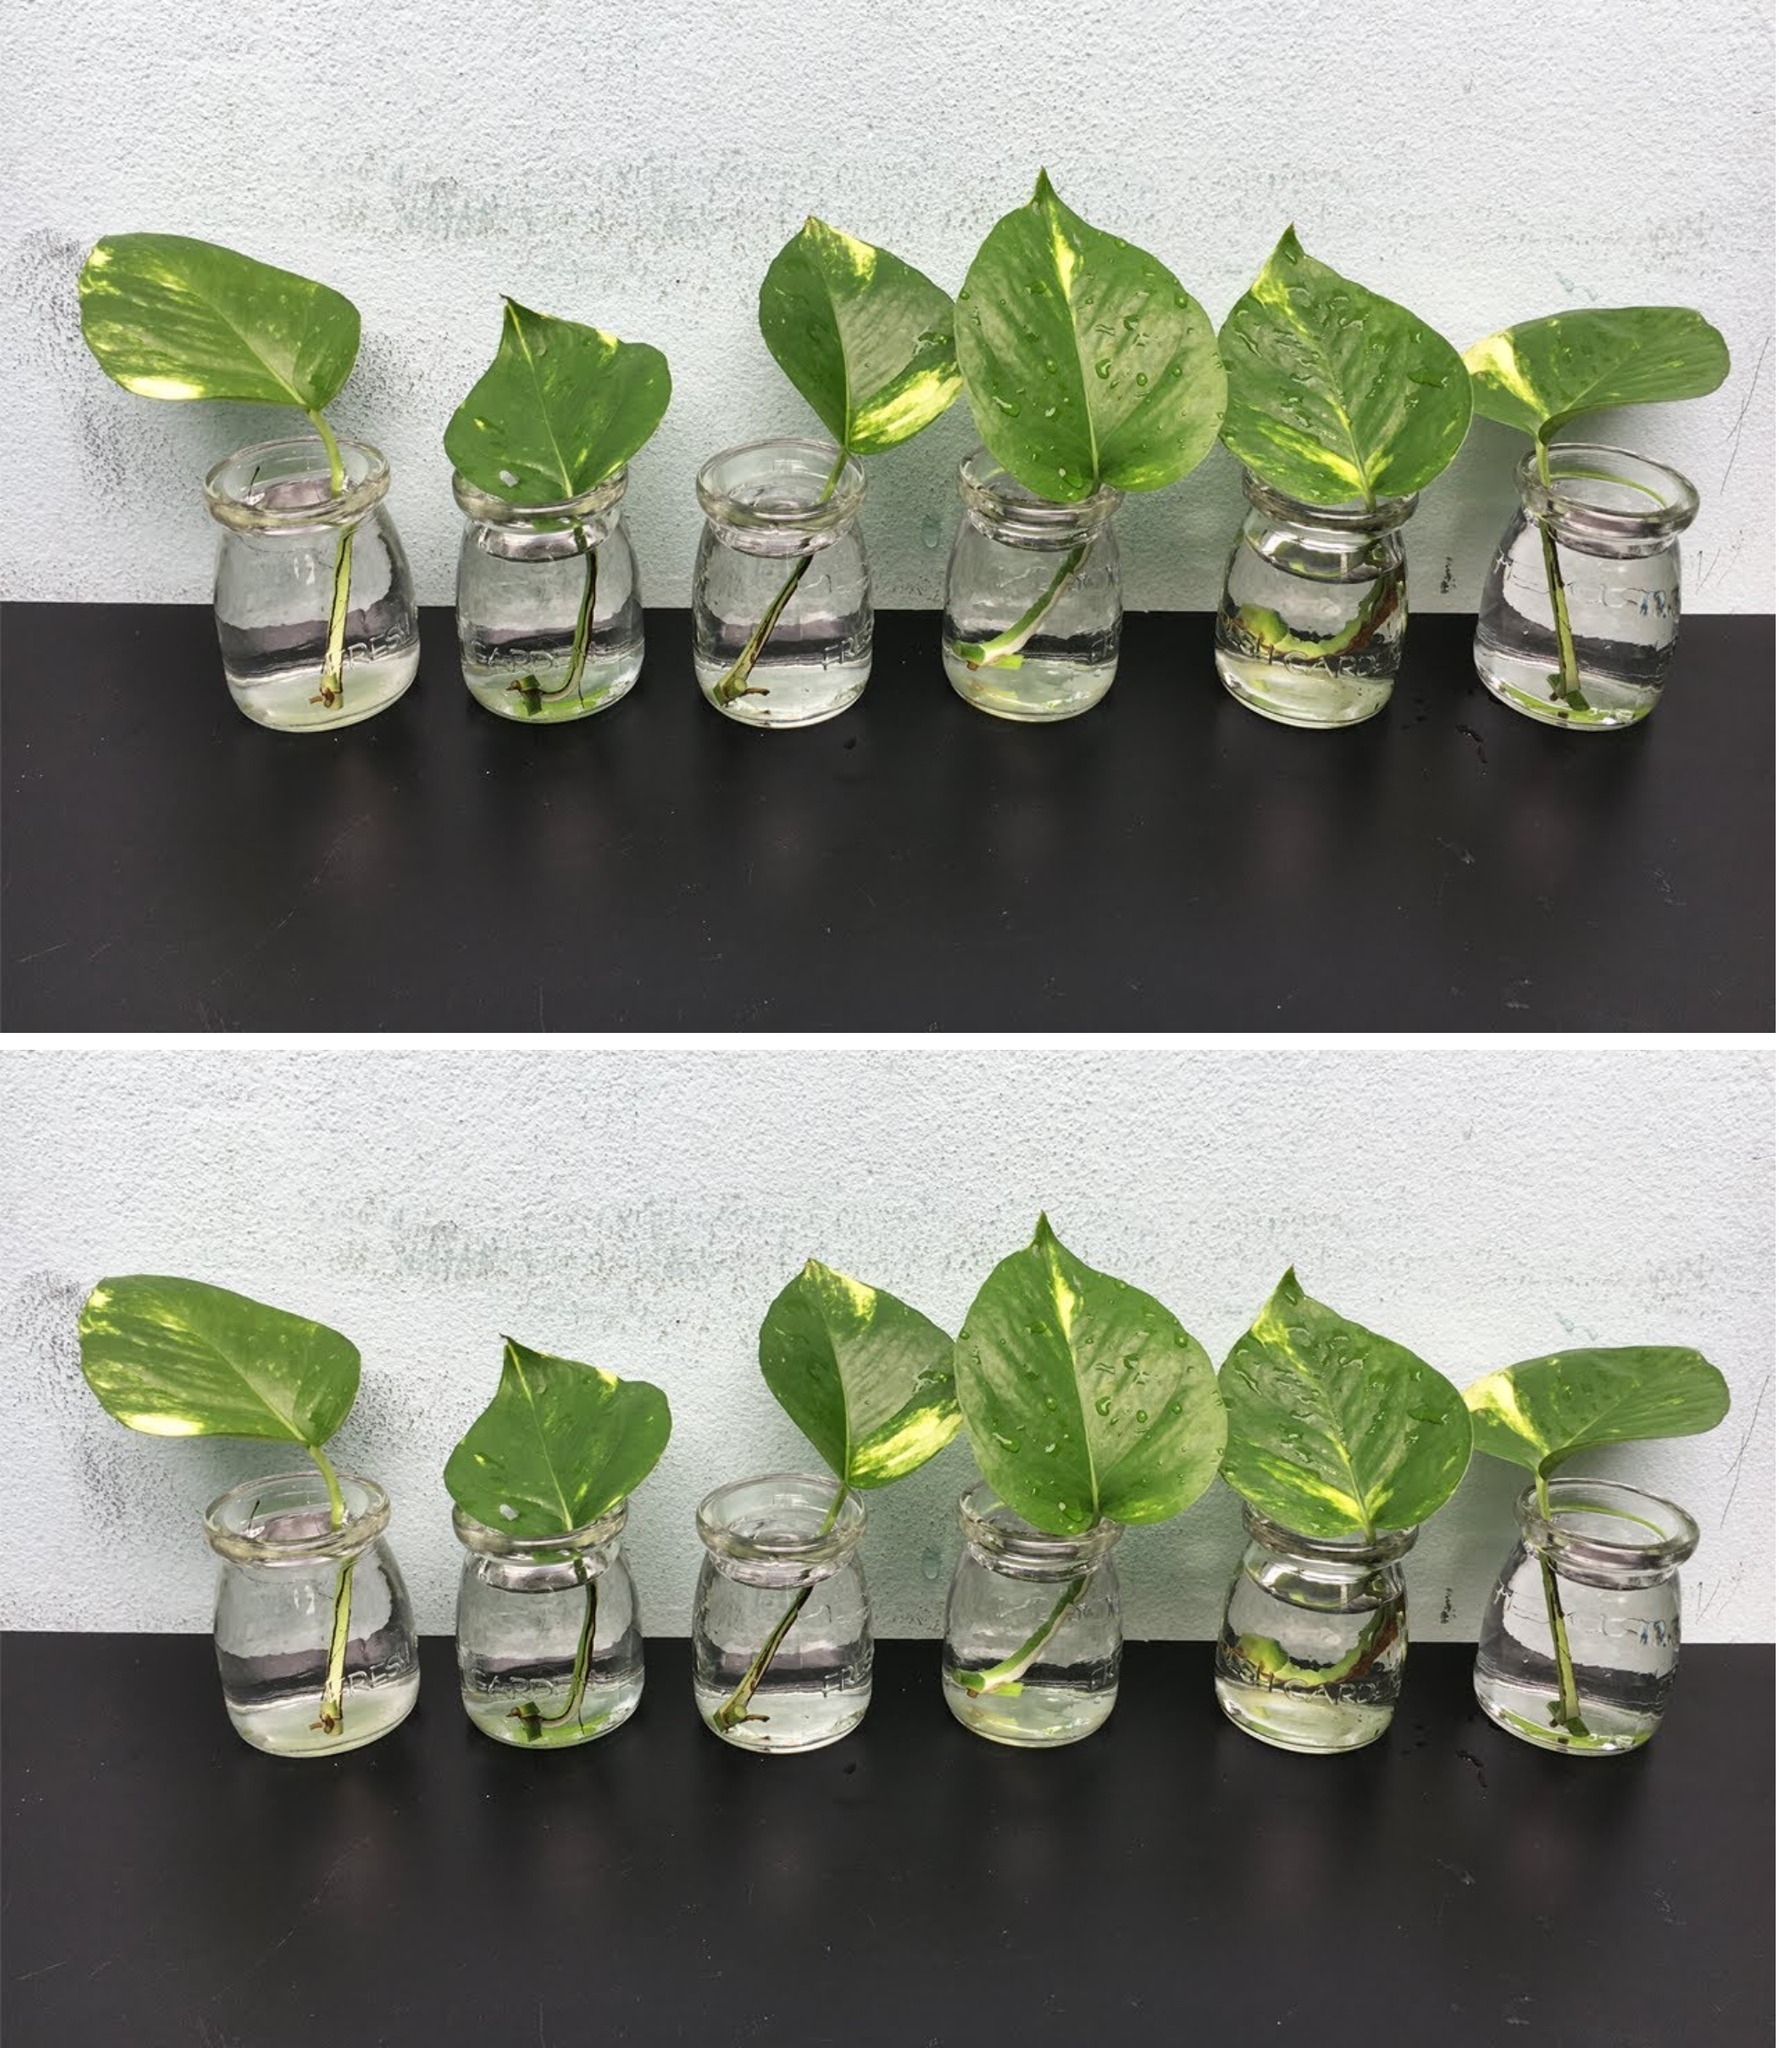
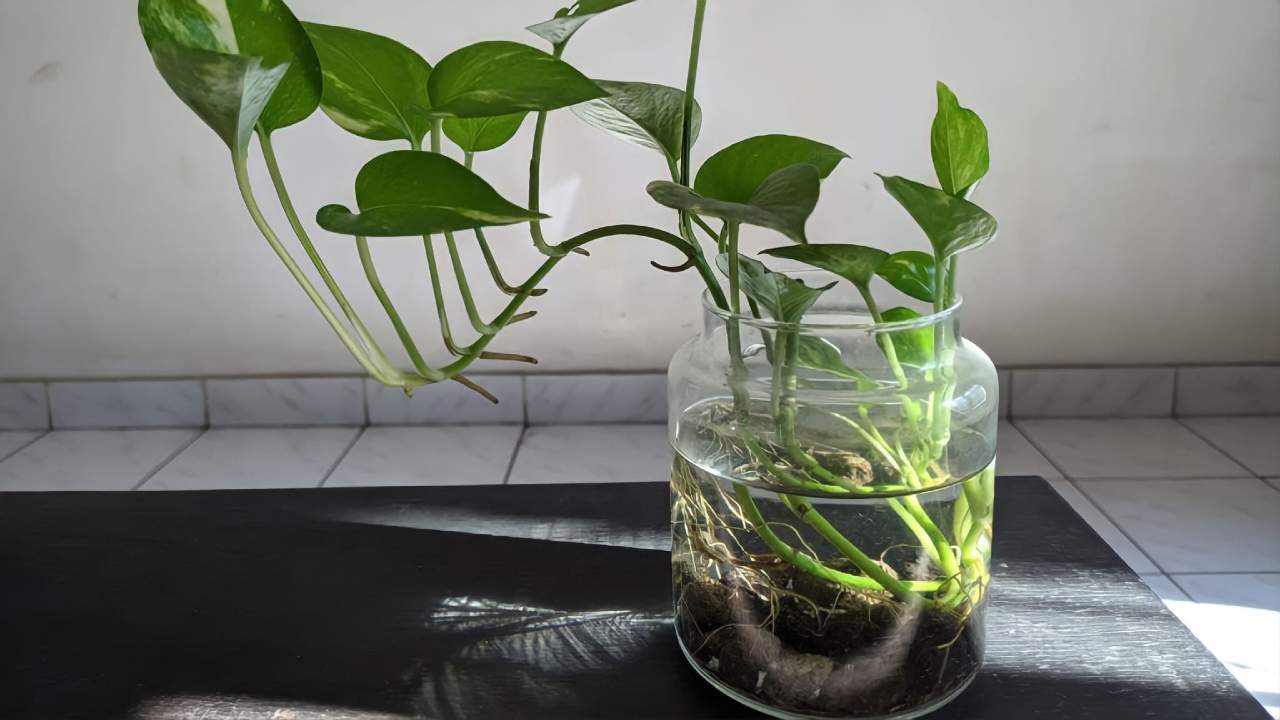
Growing Photos in a Jar: Step by Step
For those seeking to introduce greenery into limited spaces, Photos is an ideal choice, capable of thriving in glass jars or terrariums. Here’s a step-by-step guide on how to grow Photos in a jar:
- Choose the Jar and Soil: Select a clear glass jar, adjusting its size to accommodate the plant. Use fertile, well-draining potting soil to ensure proper root health.
- Plant Photos: Plant the Photos directly in the jar, positioning it in the center and covering the roots gently with soil.
- Add Gravel or Activated Charcoal: Prevent soil compaction and maintain soil temperature by adding a layer of gravel or activated charcoal (about 1.5 cm) on top of the soil.
- Watering: Pour water into the jar until it reaches the level of the gravel or activated charcoal. Be cautious not to overwater, preventing root rot.
- Placement: Position the jar in a bright area, avoiding direct sunlight that could harm the leaves. Photos require ample light for photosynthesis.
- Hydration Maintenance: Regularly check the water level and ensure the soil remains moist but not overly wet. Adjust water levels as needed to prevent dryness.
- Pruning and Care: Keep the plant size controlled by pruning regularly. Feed the plant with a suitable fertilizer every 2-3 months to maintain its health and vitality.
With this innovative method, you can cultivate the versatile and health-promoting Photos plant directly in a jar, adding a touch of nature to even the most confined spaces.
