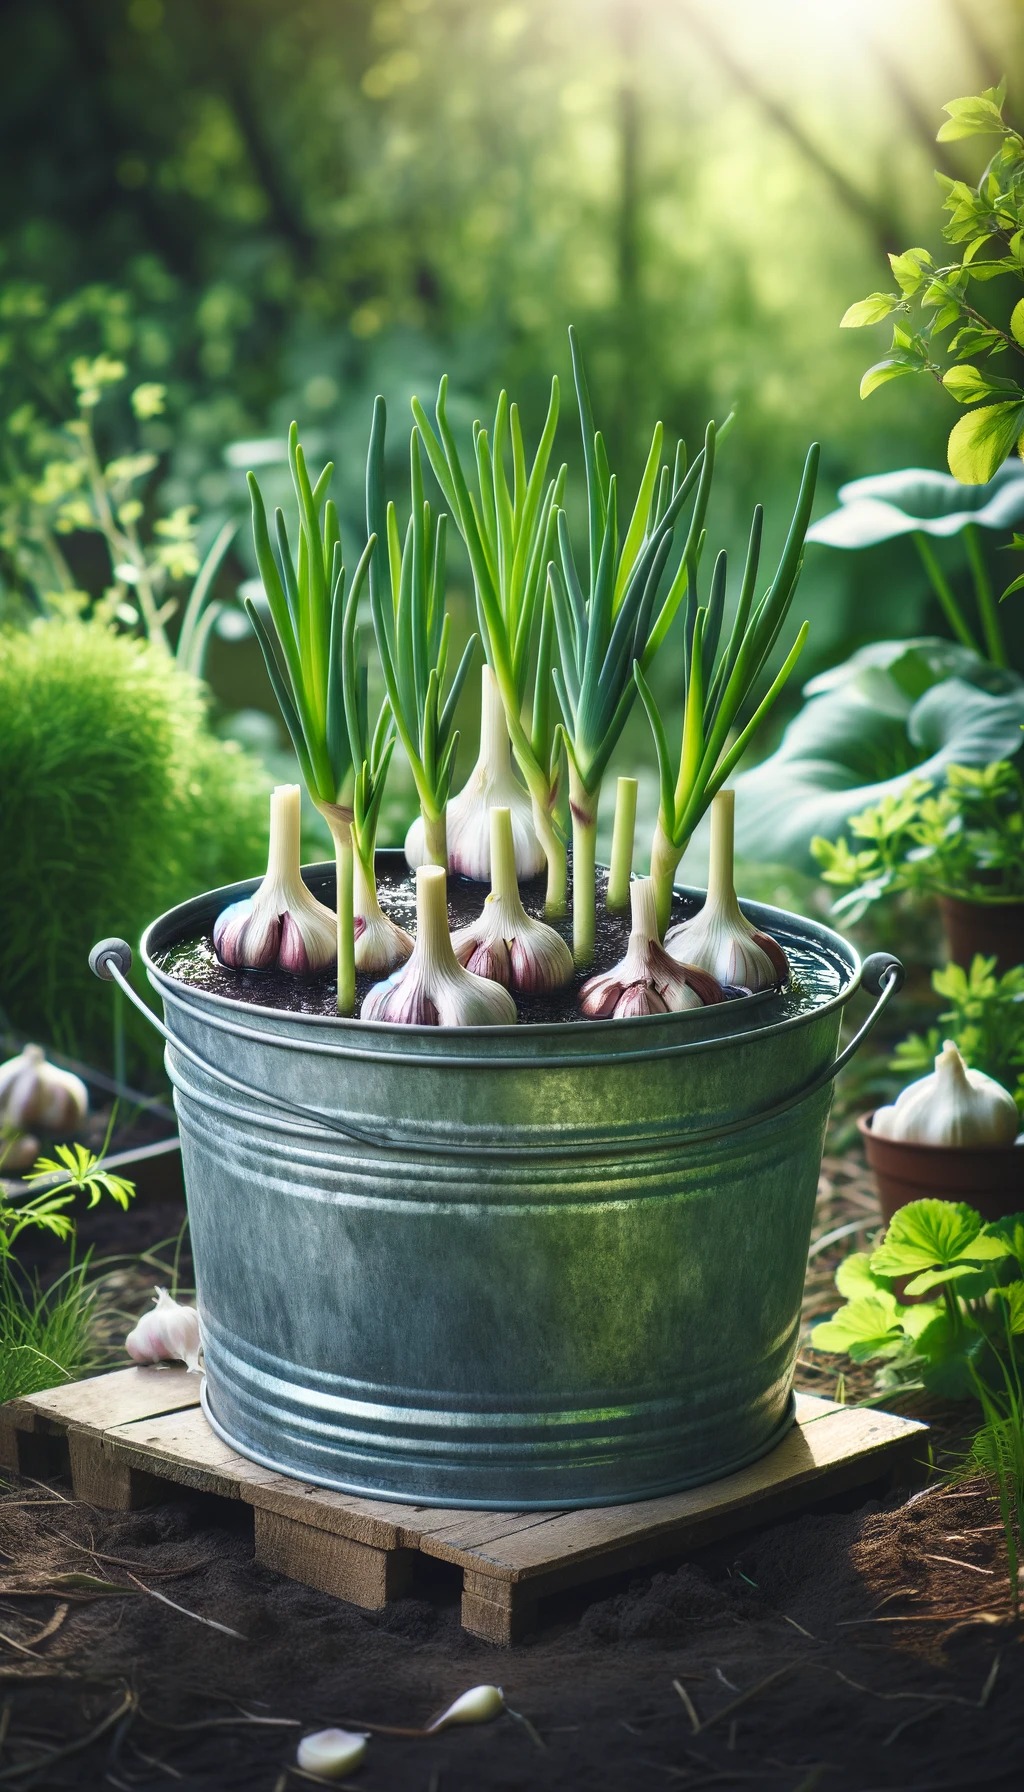
Introduction: Growing garlic in water, also known as hydroponic garlic cultivation, is an exciting and space-efficient way to enjoy fresh garlic right from your own home. Hydroponics allows you to grow garlic without soil, making it a clean and manageable process. In this step-by-step guide, we’ll walk you through how to grow garlic hydroponically so you can savor the flavor of homegrown garlic year-round.
Materials You’ll Need:
- Garlic cloves (organic is preferred)
- A clean glass jar or container
- Filtered or tap water (free from chlorine or contaminants)
- A sunny windowsill or grow light
- Liquid nutrient solution for hydroponics (available at gardening stores)
Step 1: Choose Your Garlic Cloves Select healthy garlic cloves for planting. It’s best to choose organic garlic, as it’s less likely to have been treated with chemicals that could inhibit growth.
Step 2: Prepare the Container Find a clean glass jar or container that is clear or translucent. This will allow you to monitor the root growth of your garlic. Ensure the container is large enough to accommodate the garlic cloves without crowding them.
Step 3: Add Water Fill the container with filtered or tap water, making sure it’s at room temperature. Allow any chlorine in tap water to dissipate by letting it sit uncovered for 24 hours.
Step 4: Plant the Garlic Place the garlic cloves in the container, with the pointed end facing up. The cloves should be partially submerged in water but not fully submerged, leaving the tops exposed. Maintain a 1-inch gap between the top of the cloves and the water’s surface.
Step 5: Provide Light Position the container in a location with access to plenty of sunlight, such as a sunny windowsill. Alternatively, use a grow light to ensure your garlic receives adequate light for growth. Garlic needs at least 6-8 hours of light daily.
Step 6: Change the Water Every 2-3 days, replace the water in the container with fresh, room temperature, and chlorine-free water. This helps prevent the growth of mold and bacteria.
Step 7: Add Nutrients After the first two weeks, start adding a hydroponic liquid nutrient solution to the water according to the manufacturer’s instructions. This will provide essential nutrients to your garlic as it grows.
Step 8: Monitor and Harvest Observe the garlic as it grows. You’ll notice white roots developing from the submerged portion of the cloves, and green shoots emerging from the tops. When the shoots reach a height of 4-6 inches, you can begin harvesting the green garlic leaves for a mild, garlic-flavored addition to your dishes.
Step 9: Transplant or Continue Growth If you want to grow full bulbs of garlic, transplant the cloves into soil when the shoots are around 4-6 inches tall. Plant them in well-draining soil in a garden or container, ensuring they receive adequate sunlight and water.
Conclusion: Growing garlic in water hydroponically is a fun and rewarding gardening project that allows you to enjoy fresh garlic year-round. With the right care and attention, you can harvest green garlic shoots or transplant your cloves for full bulbs, adding a delicious and homegrown touch to your culinary creations. Happy hydroponic garlic gardening!