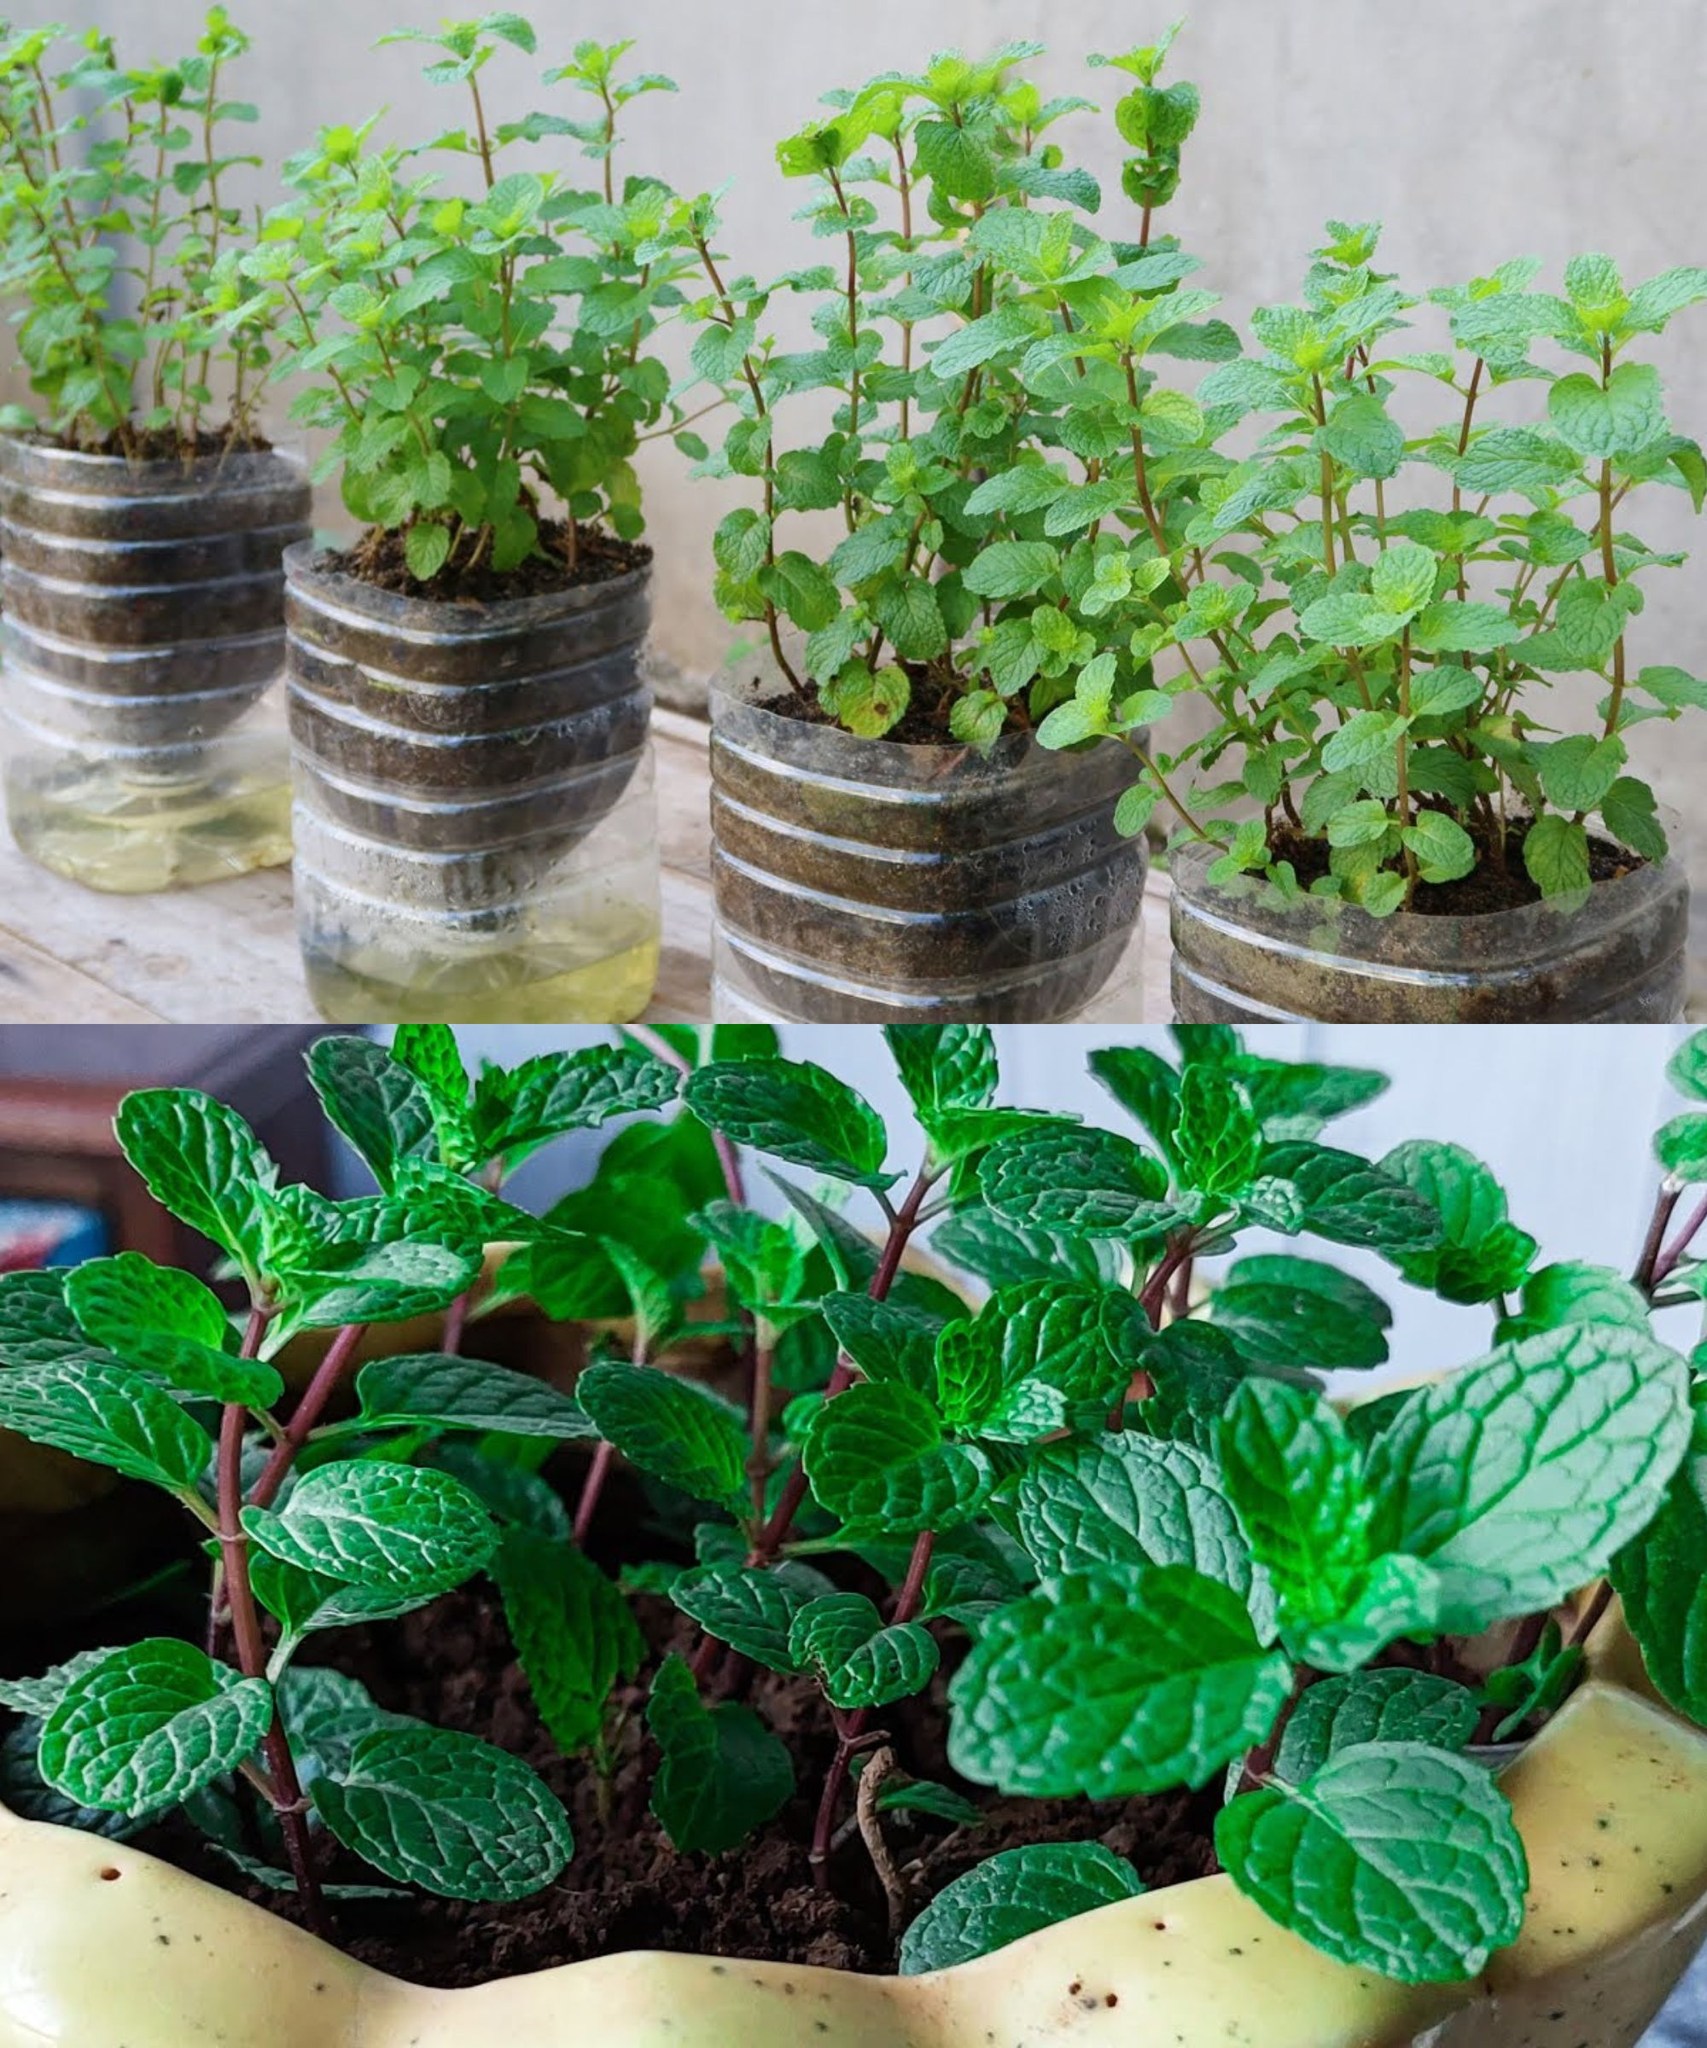
If you’re a fan of the invigorating aroma and refreshing taste of mint, here’s a simple and eco-friendly way to cultivate this versatile herb right in the comfort of your home – growing mint using plastic bottles. This DIY method not only allows you to enjoy the benefits of homegrown mint but also puts plastic bottles to a sustainable and creative use. Let’s dive into the steps of creating your own mini mint garden.
1. Gather Your Supplies: To get started, gather plastic bottles (preferably 2-liter ones), potting soil, mint cuttings, a sharp knife or scissors, and a sunny windowsill or a well-lit area.
2. Select Healthy Mint Cuttings: Choose healthy mint cuttings from an existing mint plant or purchase fresh mint from a local market. Ensure the cuttings have several leaves and no signs of disease.
3. Prepare the Plastic Bottles: Cut the plastic bottles in half horizontally, creating two separate pieces. The bottom half will serve as a makeshift pot for planting, while the top half can be used as a protective cover.
4. Fill the Bottles with Soil: Fill the bottom halves of the plastic bottles with well-draining potting soil. Mint prefers slightly moist soil, so be mindful not to pack it too tightly.
5. Plant the Mint Cuttings: Plant the mint cuttings in the soil within the plastic bottles. You can plant multiple cuttings in each bottle, ensuring they are evenly spaced. Press the soil gently around the cuttings for stability.
6. Water the Mint: Water the mint cuttings thoroughly after planting. Mint likes consistently moist soil, so make sure not to let the soil dry out completely between waterings.
7. Cover with Plastic Tops: Place the top halves of the plastic bottles over the mint cuttings. This creates a mini greenhouse effect, trapping humidity and promoting optimal conditions for mint growth.
8. Provide Sunlight: Position the plastic-covered mint containers in a sunny windowsill or in a location with ample indirect sunlight. Mint loves sunlight but can also thrive in partial shade.
9. Watch for Growth: Keep an eye on your mint cuttings as they begin to root and grow. You should start seeing new leaves emerging within a couple of weeks.
10. Transplanting and Harvesting: Once your mint has established roots and grown sufficiently, you can transplant it into larger pots or directly into your garden. Harvest the leaves as needed for culinary use or to enjoy a delightful cup of fresh mint tea.
Growing mint with plastic bottles is not only a sustainable gardening practice but also a fun and rewarding project. In no time, you’ll have a steady supply of aromatic and flavorful mint ready for culinary adventures right from your home garden. Happy planting!