Orchid Repotting Guide: Knowing When and How

If you’ve ever wondered when the optimal time is to repot your orchids, worry no more. There are three telltale signs that will help you determine when to give your magnificent plants a new home. Let’s delve into these indicators, ensuring you never miss the perfect moment for repotting and witnessing splendid blooms!
Understanding the Orchid Repotting Frequency
Among the delightful plants that grace our living spaces, orchids stand out for their exquisite fragrance and delicate flowers. While not overly demanding, orchids require careful attention to ensure robust growth and abundant blossoms. As they outgrow their initial small pots, it becomes crucial to provide them with more space for root development. Ideally, orchids should be repotted every two to three years. Recognizing the opportune moment involves paying heed to specific signs.

Three Key Signs Indicating Orchid Repotting Time
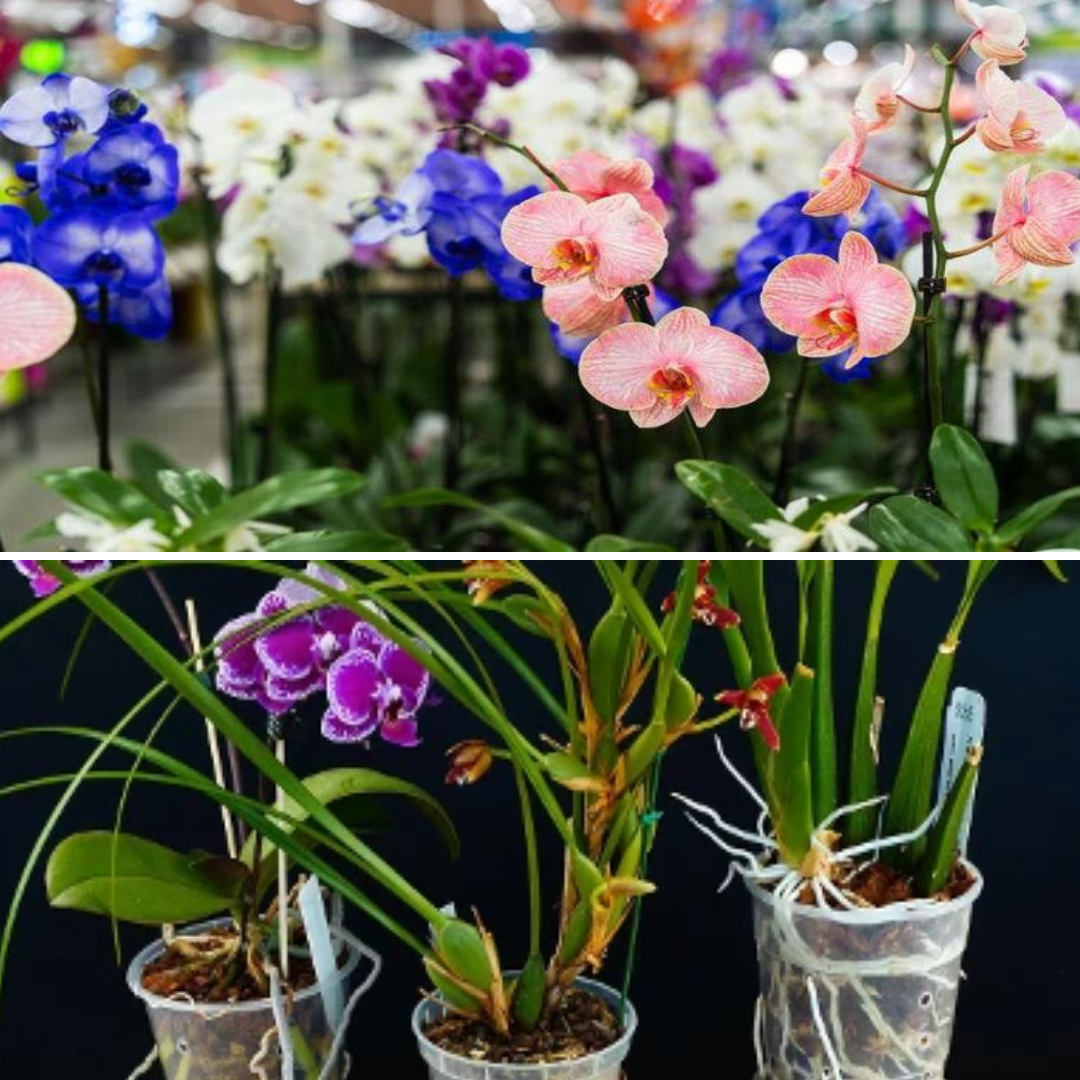
- Overflowing Roots:
- Roots protruding from drainage holes.
- The pot is too small, and repotting is necessary to accommodate the plant’s growth.
- Mold in Roots:
- Presence of mold due to excessively humid soil and water stagnation.
- Indicative of the need for a new pot to address the mold issue and improve orchid health.
- Yellow, Drooping Leaves:
- Leaves turning yellow and drooping, with stems drying out.
- Signals an urgent need for repotting to prevent further damage.

Orchid Repotting Procedure
Repotting orchids is a crucial task that demands precision to avoid root damage. Here’s a step-by-step guide to ensure a successful repotting operation:
- Careful Extraction:
- Gently remove the plant from its current pot, taking care not to damage the roots.
- Root Examination:
- Inspect the roots, ensuring they are intact, not broken, or overly dry. Trim unhealthy portions and remove yellowed leaves and dry stems with shears.
- Prepare New Soil Bed:
- Obtain pieces of bark to create a suitable layer for the roots in the new pot.
- Plant Placement:
- Fold the orchid’s roots downward and place it into the new pot, adding the prepared pieces of bark.
- Soil Integration:
- Fill the gaps between the roots with soil, gently arranging it with your hands or a garden trowel.
- Watering:
- After completing the repotting process, water the orchid thoroughly. Keep the plant moist in the following three days.
By recognizing these signs and following the correct repotting procedure, you ensure the health and vitality of your orchids, setting the stage for continuous growth and exquisite blossoms.